
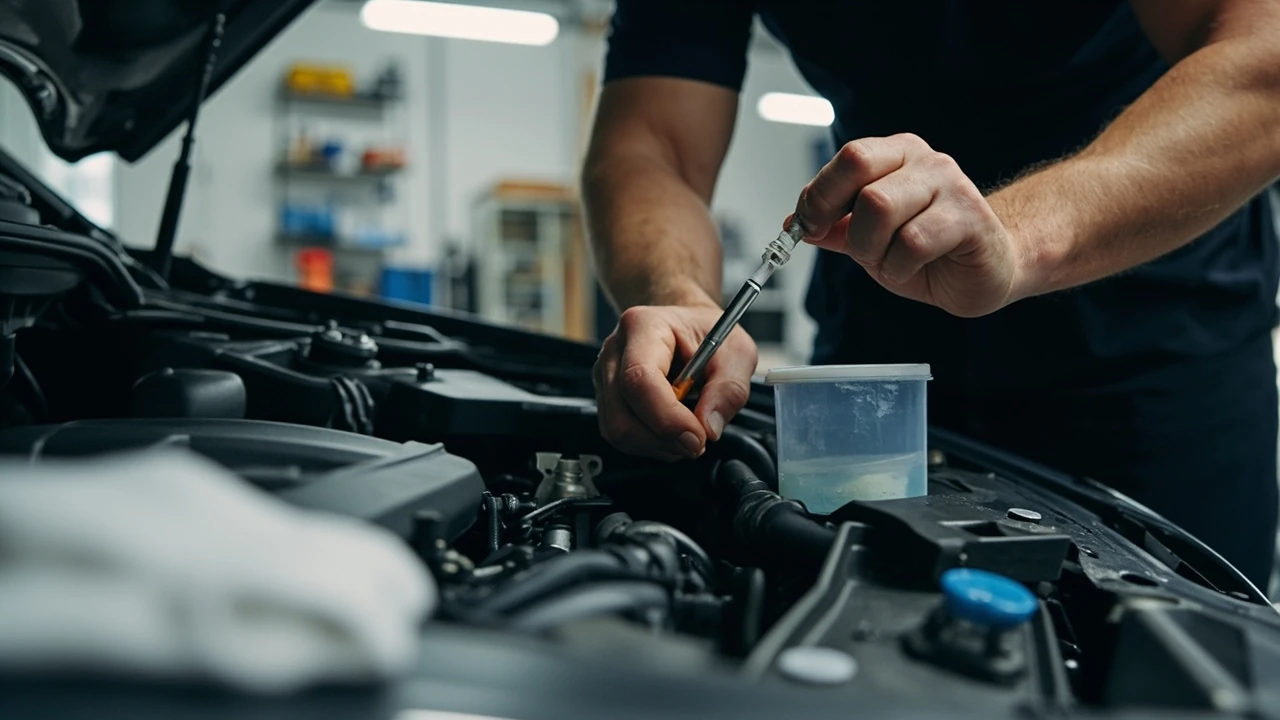
How to check oil without guessing
Knowing how to check oil is one of the easiest ways to catch a low-fluid problem before it becomes a warning light, overheating event, or expensive engine repair. The exact procedure depends on your vehicle, but most gasoline-powered cars use a dipstick to measure the oil level. Some diesel engines, hybrids, and other vehicles use an electronic oil-level display instead, so the owner’s manual remains the final authority.
This guide covers the common dipstick method, including when to check the level, how to interpret the markings, what the oil’s appearance can tell you, and when adding oil is appropriate. It also explains the difference between topping off a slightly low engine and arranging a proper oil change. For most drivers, the goal is simple: confirm that the engine has enough clean oil and is not carrying an excessive amount.
The information applies to routine passenger vehicles operated under normal conditions. A manufacturer may specify a different interval or testing procedure for a turbocharged engine, performance model, towing package, or vehicle operating in severe-duty service. If your car has a dashboard oil-life system, treat it as a maintenance reminder rather than a substitute for checking the physical fluid level when a problem is suspected.
Prepare before opening the engine bay
A stable, accurate reading depends on how the car is positioned. Oil that has just drained into the pan may make the level look higher than it really is. Oil circulating throughout a cold engine may not give the dipstick a consistent reading. Most manufacturers recommend checking with the engine warm and the vehicle parked on level ground, then allowing enough time for the oil to settle.
Use the manufacturer’s stated warm-up period rather than guessing. Depending on the engine, that can mean waiting several minutes after shutting off the car or driving long enough to bring the oil up to operating temperature. Avoid opening the filler cap while the engine is running. Also keep fingers, hair, loose clothing, and tools away from the cooling fan, which can start without warning on some vehicles.
Before you begin, gather the items you may need:
- The vehicle owner’s manual or a reliable manufacturer guide for your specific engine
- A clean, lint-free rag or paper towel
- The engine oil specified for your vehicle, if the level is low
- A funnel that fits the oil filler neck without leaving a gap
- A level parking surface, preferably a driveway or flat garage floor
Check the parking brake, select Park or gear, and make sure the engine is off. If the vehicle must be checked in a confined space, use ventilation and never leave the engine running. If the car is on a slope or the oil seems contaminated, have a qualified service provider inspect it rather than drawing conclusions from an unreliable reading.
Some vehicles have a visible oil-level sight glass or an electronic display. A sight glass generally must be viewed with the engine running under narrowly specified conditions, which is different from the dipstick procedure. A dashboard display may also require the ignition to be switched on without starting the engine. Trying to guess the display sequence can produce a misleading result, so check the manual before using either method.
Check the level with the dipstick
The dipstick is usually a flat or looped metal or plastic handle marked near the engine. Its location varies widely: it may be beside the oil filler cap, deep inside the engine bay, or reached through a tube. The same general steps apply regardless of its position.
- Park the vehicle on level ground, set the parking brake, and turn the engine off.
- Warm the engine as directed by the owner’s manual, then wait the specified time for the oil to drain back into the pan.
- Open the hood and locate the dipstick. Pull it out by its handle and wipe the metal blade clean with a lint-free rag.
- Reinsert the dipstick fully, then remove it again for a proper reading. If you leave it partially withdrawn, the oil level can appear lower than it is.
- Look at the oil on the dipstick and compare it with the minimum and maximum marks or shaded range.
- Reinsert the dipstick, close the hood, and record the result or take corrective action if needed.
The most common mistake is pulling the dipstick and judging it without first wiping and reinstalling it. Fresh oil left in the reservoir can coat the blade and hide a genuinely low level. Another common error is treating the upper portion of the dipstick as the target. The oil should normally fall within the designated range, and many manuals advise that the level should not exceed the maximum mark.
| Reading | What it usually means | What to do next |
|---|---|---|
| Below the minimum mark | The engine oil level is low | Check for leaks, confirm the correct oil and quantity, then add oil carefully |
| Between the minimum and maximum marks | The level is in the acceptable range | Recheck according to the normal maintenance schedule and monitor for changes |
| Above the maximum mark | The engine may be overfilled | Do not add more oil; have excess oil removed if the manufacturer specifies a correction |
| Oil cannot be read clearly | The dipstick may be installed incorrectly or the oil may be heavily contaminated | Reinsert and recheck the dipstick, then seek service if the condition persists |
On some dipsticks, the acceptable zone is shown by two holes, dots, or a hatched area rather than written labels. If the manual is available, confirm what those markings mean. On others, the full range between MIN and MAX can be used, although the manufacturer may still specify a target closer to the middle. When in doubt, follow the manual’s instructions and error limits.
If the dipstick is difficult to remove, do not force it at an angle that could bend the blade. Pull it straight out along the tube’s path. If the handle bends, the markings become impossible to see, or oil appears on the outside of the tube where it should not be, stop and arrange an inspection.
Look at the oil condition as well as the level
Oil can remain within the marked range while still needing attention. The dipstick gives you a chance to inspect color, texture, and smell without opening the engine. These observations do not replace a used-oil analysis, but they can reveal obvious problems.
Fresh engine oil is usually amber to dark brown, depending on its formulation and color dye. A gradual color change is normal because oil darkens as it absorbs contaminants and oxidation byproducts. The more important question is whether there has been a sudden change from the oil you previously saw. Fresh fuel, a coolant leak, or heavy contamination may be visible before the oil level falls enough to trigger a warning.
| What you notice | Possible explanation | Recommended response |
|---|---|---|
| Milky or beige residue on the dipstick | Coolant may be entering the oil | Stop normal driving and have the cooling system and oil inspected promptly |
| Fuel-like odor | Fuel dilution or another combustion issue may be present | Check the fuel system, operating condition, and oil-change need |
| Large metallic particles | Internal wear or debris may be present | Obtain a professional assessment before adding oil or continuing to drive |
| Sludge or thick, tar-like residue | Oil may be degraded or contaminated | Arrange an oil inspection and service rather than simply topping off the level |
| Water droplets | Moisture can enter during service, but repeated or heavy water is concerning | Check whether the reading repeats and consult a qualified technician |
| Slight darkening without other warning signs | Normal oxidation and accumulated combustion products may be responsible | Compare with the maintenance schedule and prior readings |
Do not rely on smell alone. Some modern oils are formulated with performance additives and may have a stronger odor than older oils, while a healthy oil can acquire a noticeable odor when it is badly contaminated. Use odor together with appearance, engine condition, and the service history.
One unrelated phrase can be confusing when searching online. The words also form the title of a 1976 live album by the Allman Brothers Band; the album’s recording and track history describes that music release and has no bearing on vehicle maintenance.
Respond correctly when the level is low
A low reading can result from normal oil consumption, a loose or failed oil cap, a damaged gasket or seal, an external leak, or oil that was left low after a previous service. Adding oil can correct a minor shortfall, but it does not correct the source of a leak.
Start by checking the oil filler cap. Many undercaps are designed to lock or tighten in a particular direction, but the correct procedure varies by vehicle. Make sure the cap is installed correctly and that the dipstick tube, oil pan, and visible engine area do not have fresh wet oil around them. Also look underneath the vehicle if it is safe to do so. A puddle under the car after it has been parked is a stronger clue than a small, old stain at a known service point.
Then compare the amount you add with the difference between the dipstick readings. Some vehicles use several liters to move from MIN to MAX, while others use a much larger quantity. Never pour in an entire container merely because the dipstick is low. Add a modest amount, wait for it to drain, and repeat the reading.
- Use the viscosity and specification printed in the owner’s manual or on the oil container.
- Do not mix incompatible oil types simply to avoid a small top-up.
- Clean the outside of the filler neck before pouring so dirt is not trapped under the cap.
- Stop pouring before the container is empty if the engine already appears full.
- Never add coolant, transmission fluid, or another fluid to the engine oil filler.
If the oil drains down to MIN within days, the level falls rapidly after a fill, or the engine consumes oil at a rate that seems unusual, arrange an inspection. Oil consumption is not automatically a defect, and some manufacturers describe an expected range, but excessive use can eventually starve the engine. An For additional context, oil-pressure warning light or knocking sound makes the situation more urgent because lubrication may already be inadequate.
Top off the engine or schedule an oil change?
A small top-up and a full oil change solve different problems. Topping off restores the level when the oil remains in acceptable condition and the consumption rate is normal. A scheduled oil change removes used oil, introduces fresh oil and a new filter, and allows the vehicle’s service history to be brought up to date.
Do not use repeated top-ups to postpone an overdue change for months. Oil loses viscosity, accumulates contaminants, and collects moisture and combustion products. If your oil-life system shows that a change is due, schedule the service instead of waiting for the dipstick to reach MIN. A nearly full dipstick does not mean the oil is still fresh.
The correct oil-change interval depends on several factors:
- The engine, model year, and factory service schedule
- The oil specification and whether the car uses an oil-life monitoring system
- Typical trip length, traffic, and idling time
- Ambient temperatures and the amount of towing or heavy use
- Driving on roads covered with dust, salt, mud, or other debris
The U.S. Department of Energy provides practical oil-change guidance for typical driving patterns at when to change engine oil, which provides useful background for this point. Use it as general context, then compare the recommendation with the owner’s manual and the vehicle’s actual service record.
Some vehicles require an oil change by time or mileage even when the oil-life display says otherwise. Others may extend the interval when the computer determines that driving conditions are favorable. A dashboard oil-life message can be useful, but it is only as reliable as the inputs it receives. If the battery has been disconnected, the oil-life monitor may have reset, so review the actual date and mileage.
Before a scheduled service, note your current mileage, date, oil specification, and any leaks or noises. This information helps the service provider repeat the check later and distinguish a new problem from an existing condition.
How often should you check the oil level?
For many vehicles, a monthly visual check and a reading at every oil change are reasonable habits. More frequent checks make sense when the car consumes visible amounts of oil, has an active leak concern, repeatedly loses the dipstick during service, or is driven in severe conditions. Checking before a long trip can also provide peace of mind, but it does not replace scheduled maintenance.
A useful schedule is based on normal use rather than a single universal interval:
| Driving pattern or condition | Reasonable level-check habit | Additional attention |
|---|---|---|
| Normal commuting and occasional longer trips | Check monthly and at each oil change | Follow the manufacturer’s service schedule |
| Frequent short trips, extended idling, or stop-and-go traffic | Check every few weeks | Watch the oil-life interval and service reminders |
| Towing, heavy loads, or repeated high-speed driving | Check more frequently during sustained use | Review severe-duty service requirements |
| Visible oil loss, new leak, or oil-pressure warning | Check immediately and monitor the level closely | Do not continue driving until the cause is assessed |
| Before storing a vehicle for an extended period | Check the level and oil condition before storage | Follow the manual’s shutdown and storage procedure |
Use the dipstick reading as a snapshot, not a permanent display. If oil is being consumed, the level can fall between scheduled checks. Keeping a note of the date, mileage, and reading can reveal a gradual change that a single dipstick check would miss. It can also help a technician understand whether the problem began before or after a recent repair.
Check tire condition and pressure during the same general walk-around, especially because a tire problem can affect safe vehicle operation. The site’s guide to recommended tire pressure explains how to interpret the vehicle’s placard rather than relying on the number molded into the tire sidewall.
Avoid common mistakes that produce false readings
Most oil-checking mistakes are simple and easy to prevent. They can lead to an unnecessary oil change, an overfilled engine, or a missed low-oil condition. The following habits make each reading more dependable.
- Use the correct dipstick and the correct procedure. Some vehicles have more than one tube or a similar-looking component.
- Park on level ground and follow the manual’s engine-temperature and waiting instructions.
- Wipe the dipstick before every reading and insert it fully.
- Do not add oil based on a photograph, old reading, or estimated consumption rate.
- Do not overfill. Excess oil can aerate, foam, leak past seals, or create pressure-related problems.
- Do not ignore a low level, unusual color, or warning message because the engine sounds normal.
Avoid checking immediately after adding oil and reading the dipstick without waiting. Fresh oil may not have reached the pan, producing an artificially low result. Conversely, a dipstick wiped with a material that leaves fuzz can make the level difficult to see. Use a clean rag and inspect the blade against a light background.
Do not confuse engine oil with other fluids under the hood. Transmission fluid, coolant, brake fluid, power-steering fluid, and windshield-washer fluid have different locations, colors, containers, and purposes. Even in a well-labeled engine bay, read the markings carefully before removing a cap.
If the vehicle has been recently serviced, verify that the technician installed the correct filter and filled the correct oil quantity. Some shops record the oil type and mileage on the service sticker or invoice. Keep that information because it helps you distinguish normal changes in color from an incorrect fluid or an incomplete fill.
Know when a low-oil situation needs prompt service
A low level discovered during routine maintenance is usually manageable. A low reading combined with warning signs may indicate that lubrication is already inadequate. Stop driving and arrange prompt assistance if you notice an oil-pressure warning light, oil-pressure gauge reading near zero, loud knocking or metallic noise, persistent oil-leak warning, overheating, or an oil level that falls rapidly after filling.
Do not keep topping off a leaking engine and assume the repair can wait. Added oil can temporarily restore the level, but it does not stop oil from escaping. Continued operation may allow bearing surfaces, the cylinder walls, or other components to wear or overheat.
A milky dipstick also deserves prompt attention. If coolant is entering the oil, the oil may lose its protective qualities and become contaminated with antifreeze. The cause could involve a failed gasket, cracked component, or cooling-system problem. Get the vehicle inspected before making a long drive.
If a low reading is your only symptom, add the specified oil if you can do so safely, then recheck after the oil settles. If the level drops again quickly, the engine consumes more oil than expected, or you are unsure whether the reading is accurate, contact a qualified technician. Other fluid services can also reveal maintenance needs, such as a transfer case fluid change on a vehicle that requires it, but do not confuse that service with an engine-oil check.
Frequently asked questions
How to check oil: should the engine be warm or cold?
Most manufacturers call for a warm engine followed by a short waiting period so the oil drains back into the pan. A cold reading can be inaccurate, particularly in cold weather. Follow the manual if it specifies a different procedure, such as a fully warmed engine or a particular number of minutes after shutdown.
How high should the oil be on the dipstick?
The oil should normally be between the minimum and maximum marks, or within the shaded region on some dipsticks. Do not assume the maximum mark is the target, and never add oil above that range. If the engine is cold and the manual allows a cold reading, compare the result with the cold range shown in the manual.
How long should I wait before checking the dipstick?
Use the waiting period specified in the owner’s manual. Many procedures call for several minutes after the engine is shut off, while others require the engine to reach normal operating temperature first. The purpose is to let the oil drain into the pan and settle enough for the dipstick to show a repeatable level.
Do I need to turn the engine off when checking the oil?
Yes for the common dipstick method. Shut the engine off, park on level ground, and follow the manual’s warm-up and waiting instructions before pulling the dipstick. Vehicles with electronic oil-level sensors or sight glasses may have different procedures, so consult the vehicle-specific instructions.
Can I check the oil while the engine is running?
Only if the manufacturer explicitly describes a procedure that requires it. A sight glass may need to be viewed with the engine running under exact conditions, but pulling a dipstick beside a running engine can expose you to moving parts and hot surfaces. Never remove the filler cap while the engine is running.
What color should engine oil be?
New oil is generally amber to dark brown, and gradual darkening with use is normal. A sudden change matters more than a precise shade. Milky residue, visible water, fuel odor, metallic particles, or thick sludge can indicate contamination or wear that warrants an inspection.
Is it bad if I need to add oil between changes?
Some oil consumption is normal for many engines, and a small top-up can be appropriate when the oil is otherwise in good condition. Repeated large additions, a rapidly falling level, or a need to refill soon after a change can signal a leak, excessive consumption, or an incorrect prior service. Check the manual’s expected consumption guidance and investigate unusual patterns.
Can I overfill my engine with oil?
Yes, and excess oil can create problems. It may foam, leak past seals, or put unnecessary strain on components. If the dipstick shows more than the maximum mark, do not add anything else. Let the excess settle, recheck using the manual’s procedure, and arrange professional removal if the level remains above the allowed range.
Why does my oil level drop between oil changes?
Oil can be consumed by the engine, escape through a damaged seal or gasket, leak through a loose cap, or escape at another connection. If the level returns to MIN quickly, record the date and mileage, check visible areas for fresh oil, and ask a technician to determine whether the engine is using oil faster than expected.
What oil should I add if the level is low?
Use the oil grade and specification required by the owner’s manual, which may specify a viscosity, synthetic or conventional type, and additional standards such as a fuel-economy or performance approval. If you cannot confirm the specification, do not pour in an unfamiliar product. Check the existing oil and ask a qualified service provider for help.




Leave a Reply